 EN
EN

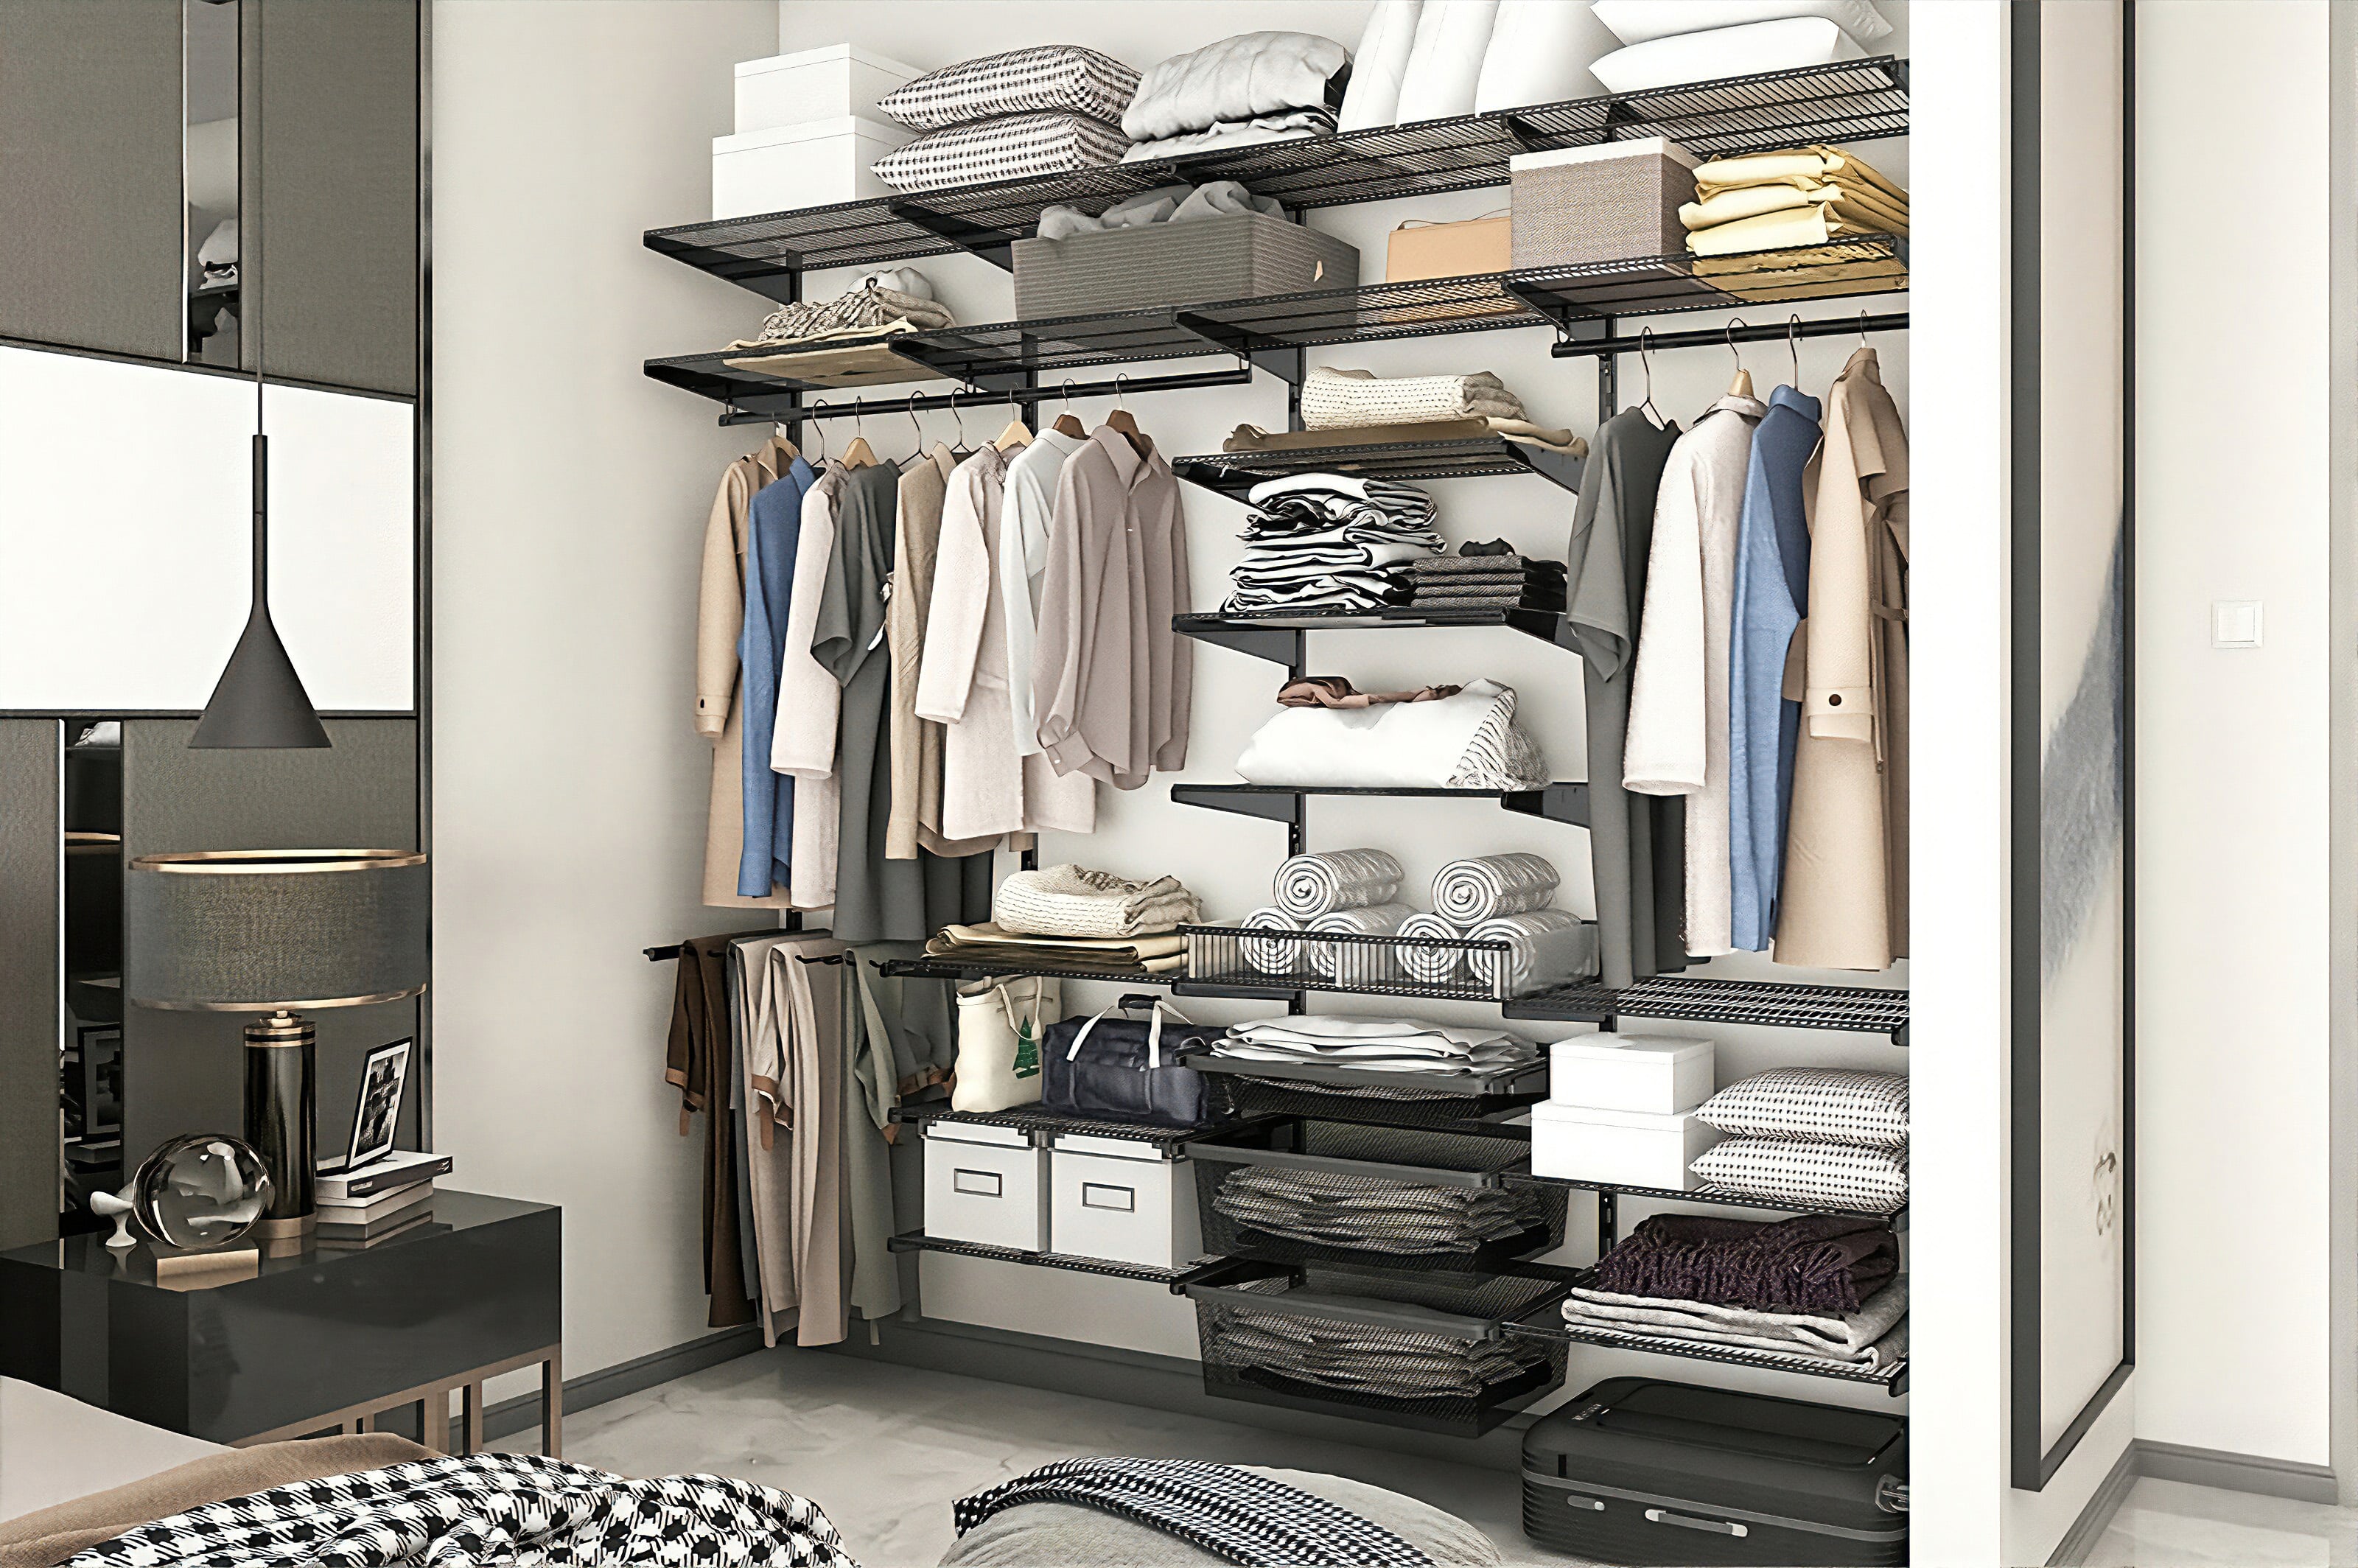
A well-organized wardrobe starts with the right structural foundation, and for most homeowners and DIY enthusiasts, a clothes rail is the single most impactful addition they can make. Whether you are working with a small bedroom closet, a walk-in wardrobe, or an open-plan dressing area, installing a clothes rail transforms cluttered spaces into clean, functional storage zones. Understanding how to use a clothes rail effectively is the first step toward a wardrobe that actually works for your daily routine.
This guide walks homeowners and DIY enthusiasts through the core principles of wardrobe closet organization using a clothes rail. From selecting the right clothes rail size to planning layout zones and maximizing vertical space, every section below covers a practical step toward a better-organized home. A clothes rail is not just a hanger bar — it is a versatile system that, when used thoughtfully, can completely redefine how your wardrobe functions.
Choosing the Right Clothes Rail for Your Space
Clothes Rail Sizing and Load Capacity
Before purchasing a clothes rail, you need to assess the available width and depth of your wardrobe or closet space. A clothes rail that is too short will waste valuable hanging space, while one that is too long may cause sagging under garment weight. Standard clothes rail lengths range from 600mm to 1200mm, and choosing the correct size depends on both the physical dimensions of your space and the volume of clothing you plan to hang. For most single wardrobes, a clothes rail in the 800mm to 900mm range provides the ideal balance between capacity and stability.
Load capacity is equally important when selecting a clothes rail. A heavy-duty clothes rail made from steel with a diameter of 25mm or above can support coats, suits, and densely packed garments without bending. For lighter use such as shirts, blouses, or children's clothing, a thinner-gauge clothes rail may be sufficient. Always match the clothes rail specification to the actual weight demands of your wardrobe to prevent structural failure over time.
Clothes Rail Materials and Finish Options
The material and finish of your clothes rail affect both its durability and its visual integration with your wardrobe interior. Chrome-finished clothes rail options offer a clean, contemporary look and resist surface corrosion well in humid environments such as dressing rooms near bathrooms. White powder-coated clothes rail designs are popular for built-in wardrobes and DIY fitted furniture because they blend seamlessly with white interior panels and melamine-faced boards. A clothes rail with a smooth, consistent finish also makes sliding hangers easier, which improves day-to-day usability. Choose your clothes rail finish based on the existing aesthetic of your wardrobe and the level of use it will receive.
Planning Your Wardrobe Layout Around a Clothes Rail
Single and Double Hanging Zones
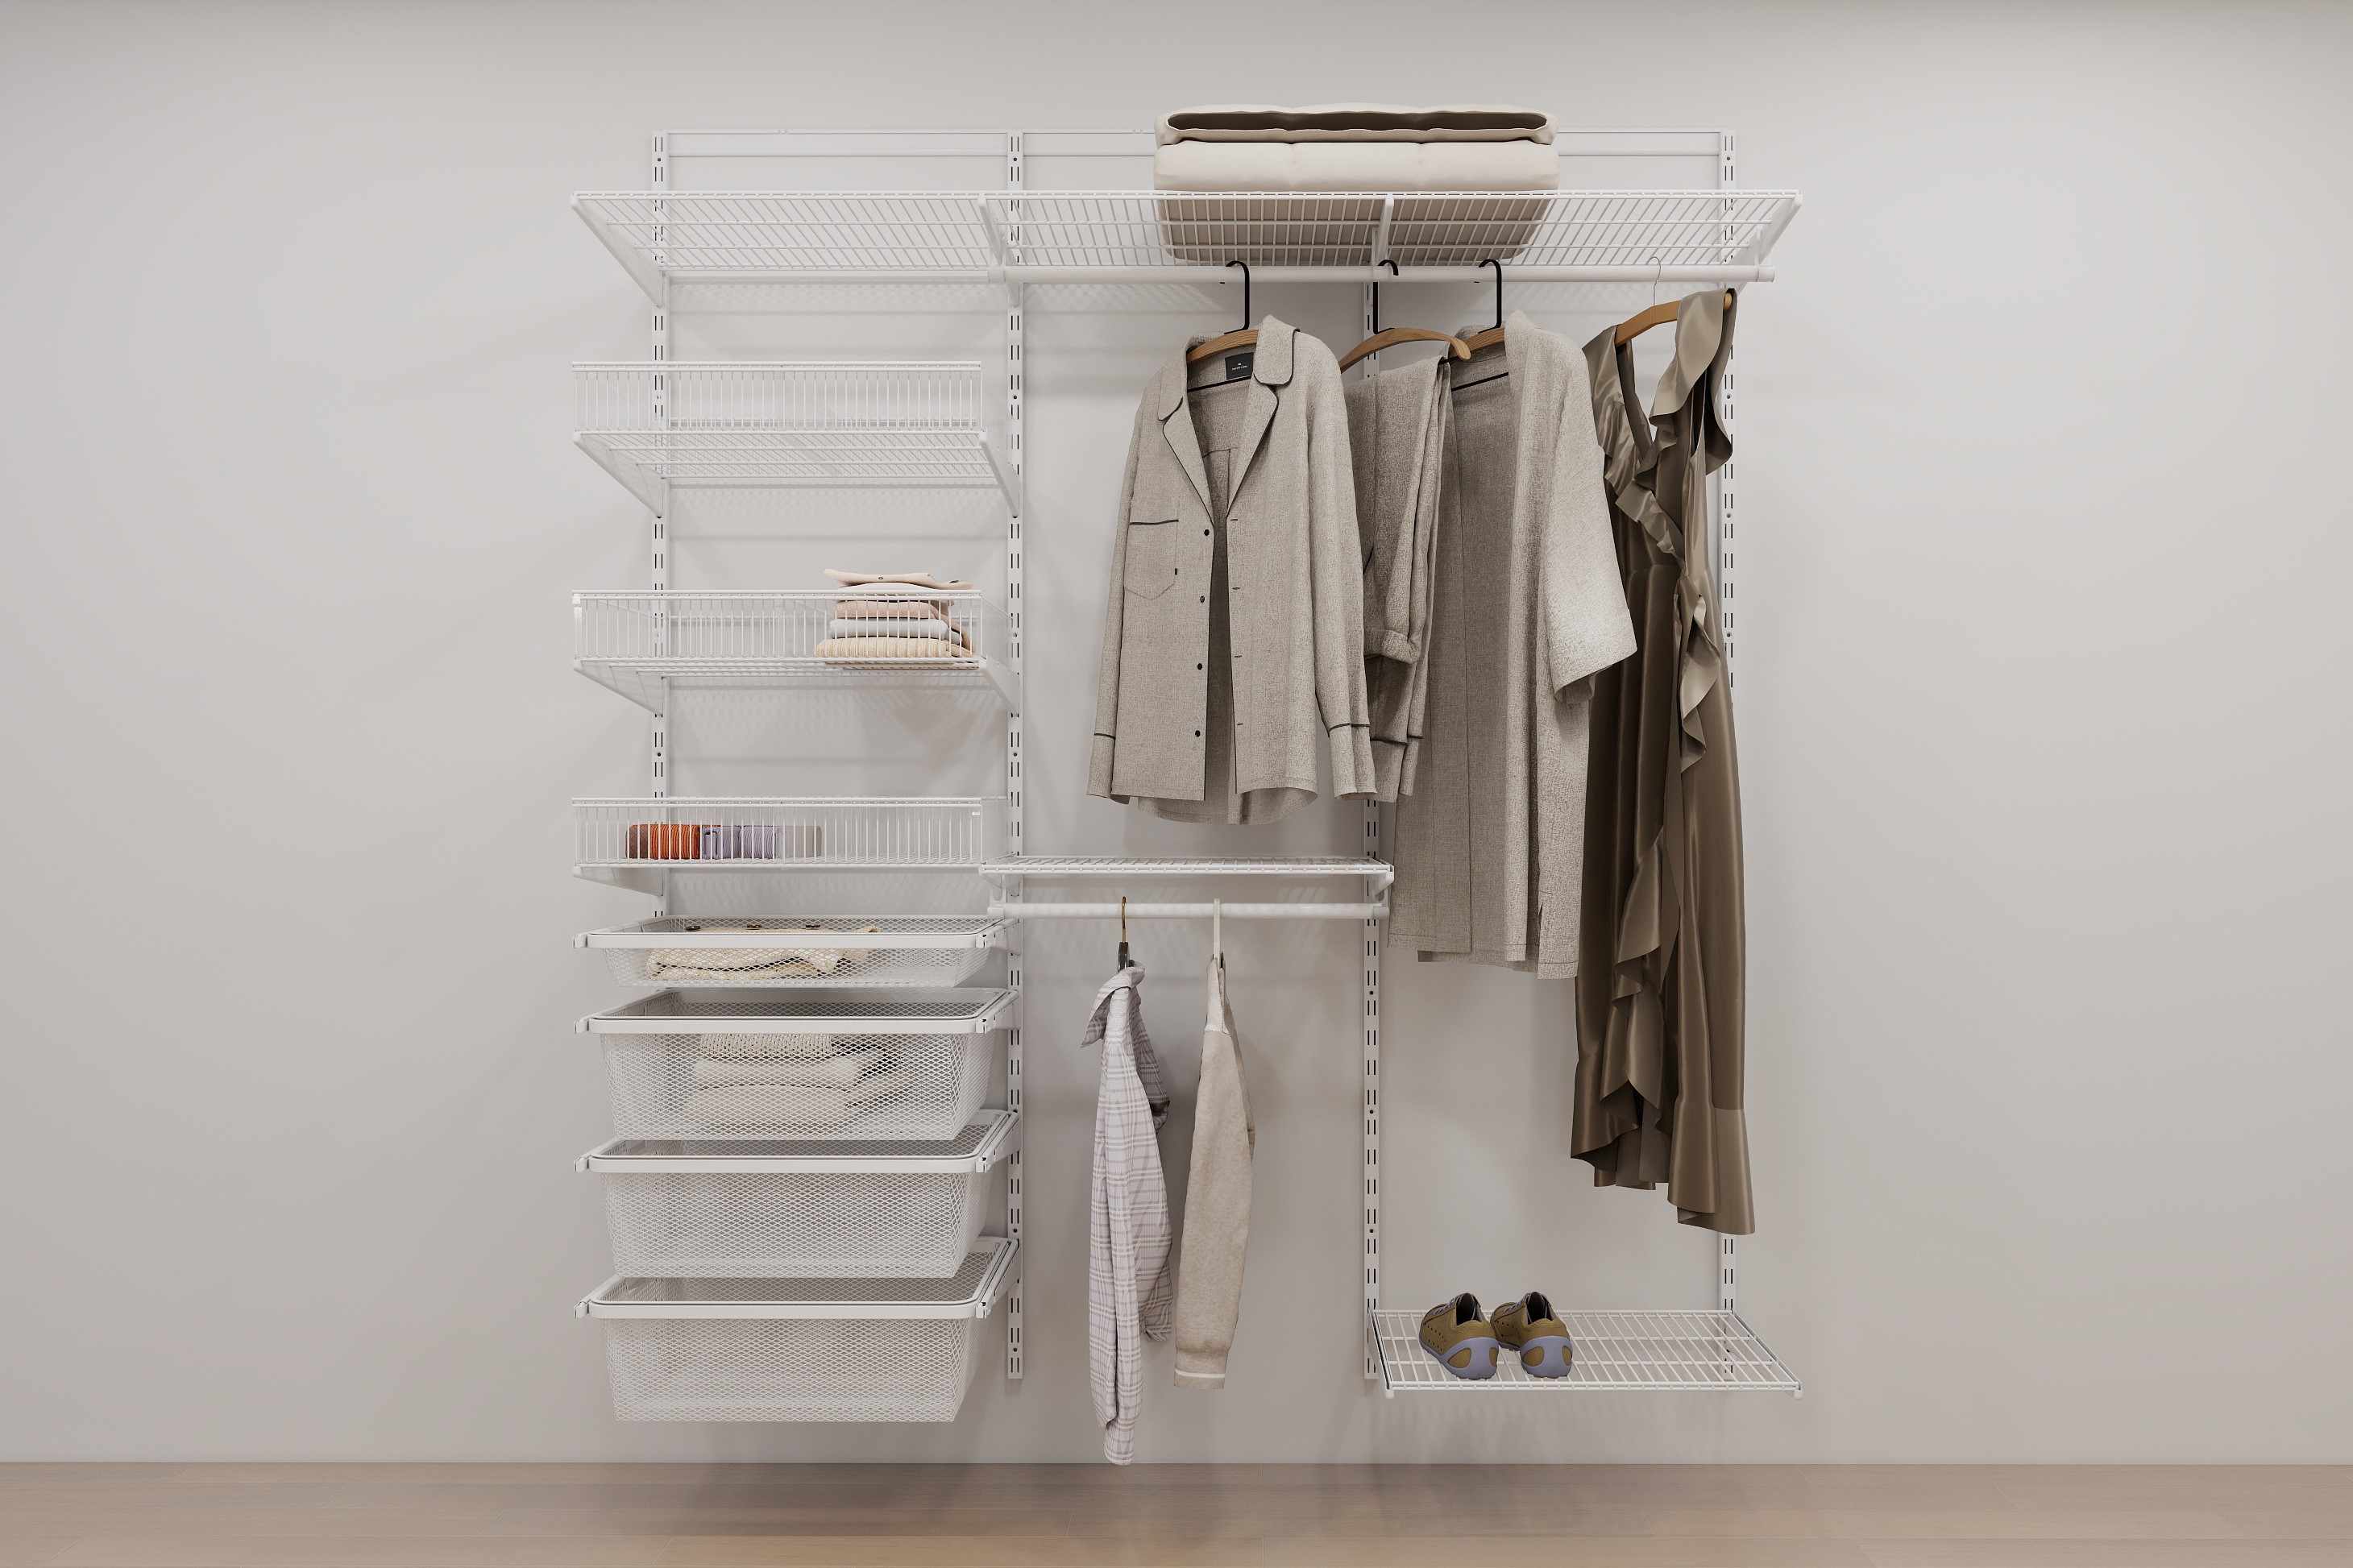
One of the most effective wardrobe organization strategies is dividing your closet into single-hang and double-hang zones using a clothes rail configuration. A single clothes rail running the full height of one wardrobe section is ideal for long garments like dresses, coats, and trousers hung full-length. In another section, you can install two clothes rail bars stacked vertically — one at a higher position and one at a lower position — to double your hanging capacity for shorter items like shirts, jackets, and folded trousers. This double-hang clothes rail approach can nearly double your usable storage without changing the physical footprint of your wardrobe.
When planning your clothes rail layout, group garments by type and frequency of use. Place the clothes rail section for daily-wear items at the most accessible height and position. Reserve higher or lower clothes rail positions for seasonal or occasional clothing. This zoning principle reduces clutter and makes it easier to find what you need quickly. A well-planned clothes rail layout also encourages consistent put-away habits, which is essential for maintaining wardrobe organization over time.
Combining a Clothes Rail with Shelves and Drawers
A clothes rail works best when it is part of a complete wardrobe system rather than a standalone element. Integrating shelves above your clothes rail maximizes vertical space for folded items, bags, or boxes. Drawers below the clothes rail provide concealed storage for underwear, accessories, and smaller clothing items that do not benefit from hanging. This layered approach — clothes rail for hanging, shelves above, drawers below — is the standard method used in professional wardrobe design and can be replicated in DIY projects using modular components. The clothes rail acts as the central structural element that anchors the entire organization system.
DIY Installation Tips for a Clothes Rail
Measuring and Marking for a Clothes Rail
Accurate measurement is the foundation of a successful DIY clothes rail installation. Begin by determining the ideal hanging height for your clothes rail, which is typically between 1600mm and 1800mm from the floor for full-length garments and around 900mm to 1000mm for the lower rail in a double-hang configuration. Mark the wall or wardrobe panel at both ends of the clothes rail position using a spirit level to ensure the rail is perfectly horizontal. An uneven clothes rail will cause hangers to slide to one end and create an unbalanced load, reducing both usability and long-term stability.
When drilling pilot holes for your clothes rail brackets, always check for hidden electrical cables or plumbing within the wall or panel. Use appropriate wall anchors or screws rated for the expected load of your clothes rail. If your clothes rail spans more than 900mm, consider adding a center support bracket to prevent sagging. A properly supported clothes rail will maintain its position and shape even under heavy garment loads, making it a reliable long-term storage solution.
Finishing Touches After Clothes Rail Installation
Once your clothes rail is securely installed, take time to organize your hanging items before loading the rail at full capacity. Sort garments by category, color, or season depending on your personal preference. Use matching hangers throughout your clothes rail for a visually clean result — this small detail makes a significant difference in how organized the wardrobe appears. Add a slim clothes rail divider or label clip to separate clothing zones if you share the wardrobe with another person. These finishing steps complete the organization process and ensure your clothes rail installation delivers its full potential.
FAQ
What is the standard length for a clothes rail in a wardrobe?
The most common clothes rail lengths for wardrobe use are 600mm, 800mm, and 900mm. The right length depends on your wardrobe's internal width and the number of garments you plan to hang. For a standard single wardrobe, an 800mm to 900mm clothes rail is usually the best fit.
Can I install a clothes rail without professional help?
Yes, most homeowners can install a clothes rail as a straightforward DIY project. You will need a drill, spirit level, appropriate wall anchors, and the mounting brackets supplied with or compatible with your clothes rail. Following accurate measurements and using proper fixings ensures a secure and level installation.
How do I prevent my clothes rail from sagging under heavy garments?
To prevent a clothes rail from sagging, choose a rail with a larger diameter such as 25mm or above, and add a center support bracket for any clothes rail longer than 900mm. Distributing garment weight evenly along the clothes rail also reduces stress concentration and extends the lifespan of the rail.